Showing posts with label DoCrafts. Show all posts

Thursday, 9 October 2014

Girly Scrapbook Layouts


Hello lovelies.

These are a couple of girly scrapbook layouts I have been working on.  The background papers are from the Simple Stories Collection Kit and they are 12" x 12".  The papers and decorations used are from my stash, and the flower chain on the second layout is made with a Martha Stewart punch I picked up in New York a couple of years ago.


Do you like scrapbooking?  If not, would you like to have a try?

xoxo

Saturday, 4 October 2014

Altered Wooden Items/Decorations

Hi all and Happy Saturday!

Today I wanted to share with you some wooden items I altered in the last few days.  

I usually take part in a couple of Christmas Craft Fairs and I'm starting to build up some stock.

There you go


Heart hanging decorations. 

I'm planning on making a few Christmassy ones or maybe even custom make them with names. Lovely keepsake for a new baby.


The next one is an example of a wooden plaque.  Always my bestseller at craft fairs.  
Last year I had about 30 with me at one of the markets with various quotes and I was not only sold out but also got a few orders to custom make a few :-)


Name plaques, any colour, any name:

Cute for a child bedroom


A couple of wooden bookmarks:


What do you think?
Do you go to Christmas Craft Markets?


Claudia xoxo

Wednesday, 10 September 2014

Pop Up Box Card Tutorial

Today I will show you how to make a Pop Up Box Card like this one:


You will need:

  • 12" x 12" cardstock
  • Coordinated patterned papers
  • Acetate (cut into thin strips)
  • Die cuts
  • Scoring board and tool
  • Paper trimmer
  • Double sided tape


First of all trim the cardstock to 23.5cm x 15cm
On the long side score at 5.5cm, 11cm, 16.5.cm and 22cm
Turn it around and score at 7cm


Cut down to the score line right where you had previously score (only 7cm down).
Trim half of the small strip on the side (soon after the 22cm score) and keep it for later. Cut a slight angle on the other half.

It will look like this:


Now trim your patterned papers as follow:


  • 6 rectangles 6.5cm x 5cm
  • 2 rectangles 14.5 x 5cm
  • 3 rectangles 7.5cm x 5cm


Adhere each panels as indicated:

Front of the card (outside)


Back of the card (inside)


This is what the box card will look when it's closed.


Now take the strip of cardstock you had previously cut out, cut another one of the same size.  
Fold 2 flaps and adhere them inside the box


Now your box card is ready to be decorated with die cuts and embellishments:
I used this strip of acetate to adhere the hearts and die cut to the inside strips.


Hope you enjoyed my project!
Thanks for reading xoxo


Saturday, 30 August 2014

LOVE Scrapbook album


A while back I bought a couple of 'love' mini albums. I think they would make a lovely gift for anybody getting engaged, married or just to organise those important photos to cherish for years to come.


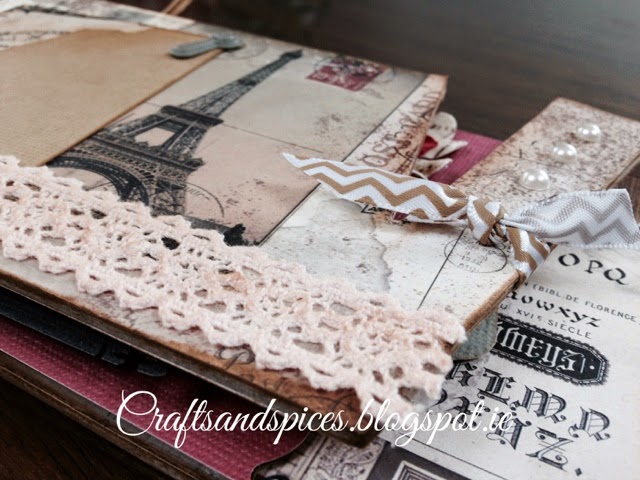
Had lots of fun decorating it with my new Papermania papers from the Madame Payraud's range that gives the whole album that vintage and romantic look. I have also played around with coordinating ribbons, lace, flowers and other embellishments. 
Here is the finished album:


I also added a couple of extra pages to make it a little bit more special


Hope you liked it x


Tuesday, 19 August 2014

Altered box

This is my first attempt at altering a box. I used papers from the Papermania Botanical range, adhesive lace, flowers and charms I purchased on Ebay a while back.


Have to say I really enjoyed this project and I am planning to make a few more.  I think I will try with different styles as well.